After I finished making yesterday’s necklace I thought to myself: looks nice, needs more red! I got on the torch and made some beads using the tonic water bottles, added some red frit, and then used them in this necklace.
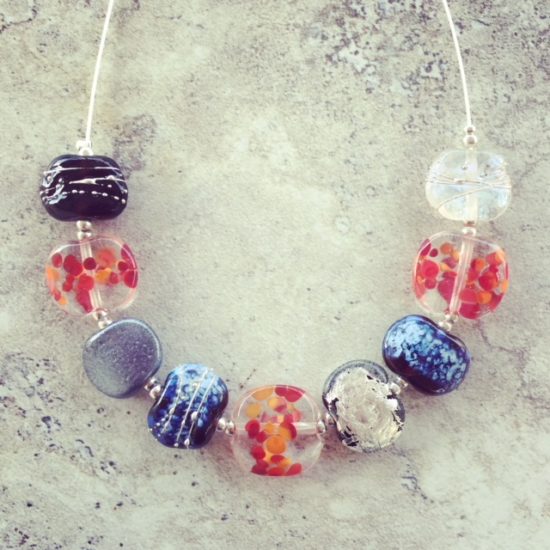
After I finished making yesterday’s necklace I thought to myself: looks nice, needs more red! I got on the torch and made some beads using the tonic water bottles, added some red frit, and then used them in this necklace.

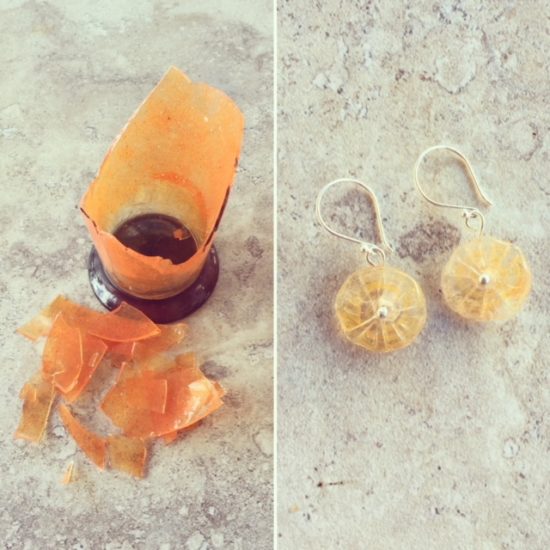
I was a bit sad when I dropped my favourite orange cup the other day! Don’t worry, I didn’t cry. I just thought it was a shame that my favourite cup was broken. And then I thought “well, why not make some beads from it?”
So I made some flower beads, and then made these earrings. I was worried that the colour would burn out in the flame but it didn’t. Very happy to open the kiln this morning to find these.

Today I made a necklace featuring beads from wine, gin and tonic bottles. I love taking the time to talk to people about how these beads are made, so here goes:
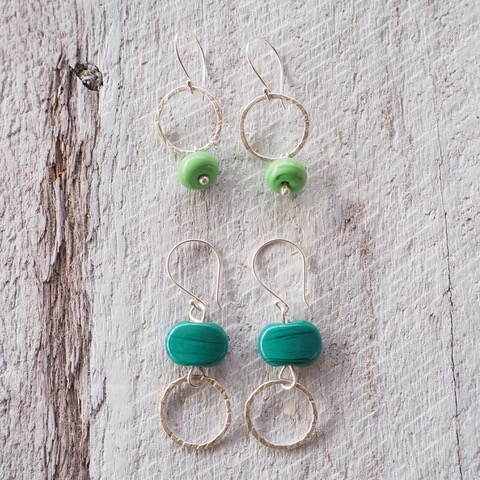
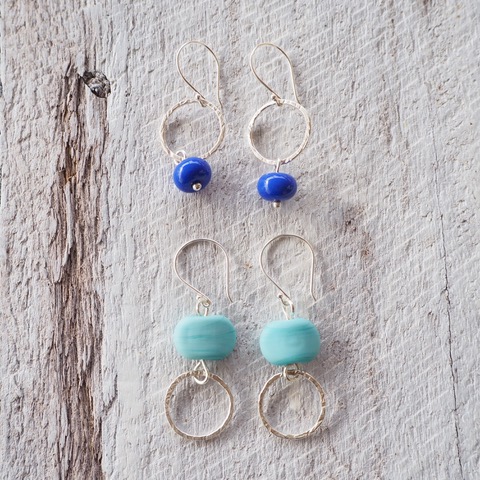
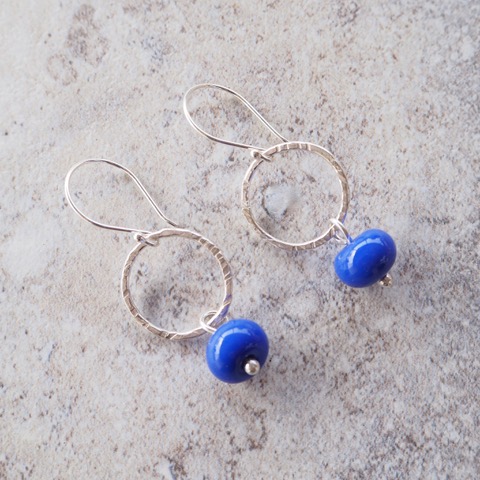
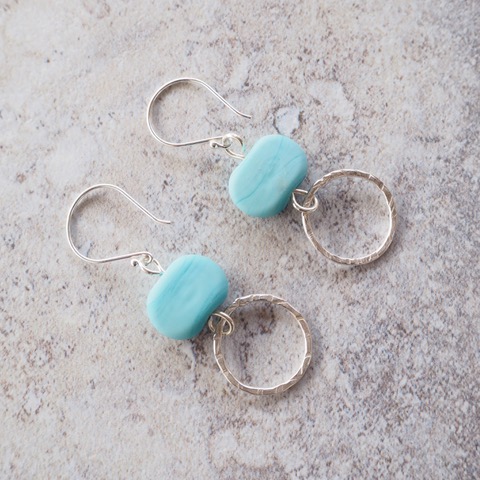
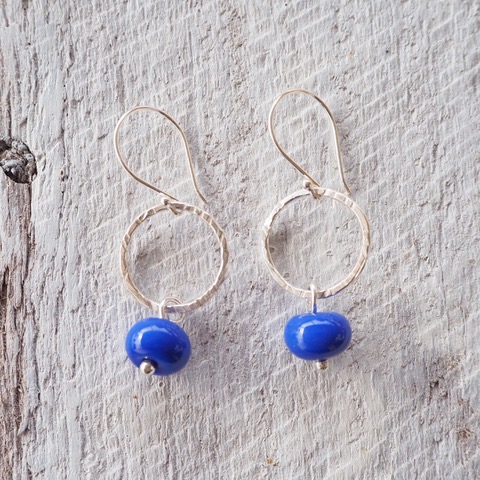
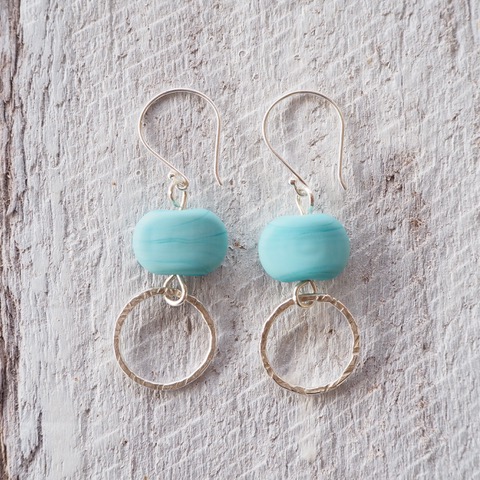
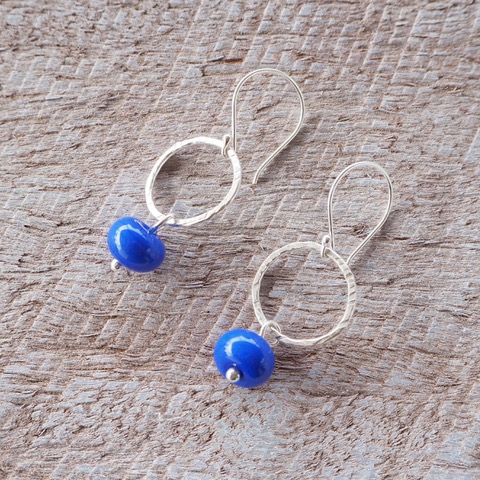
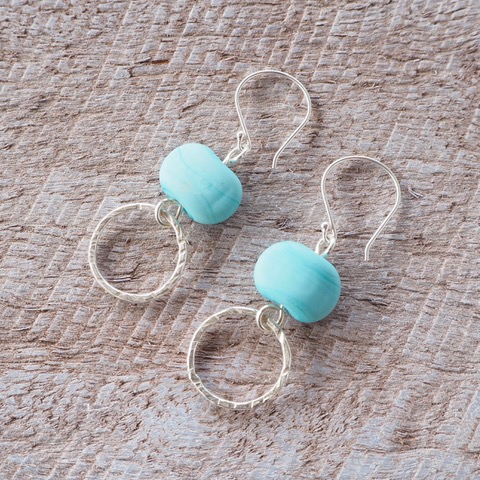
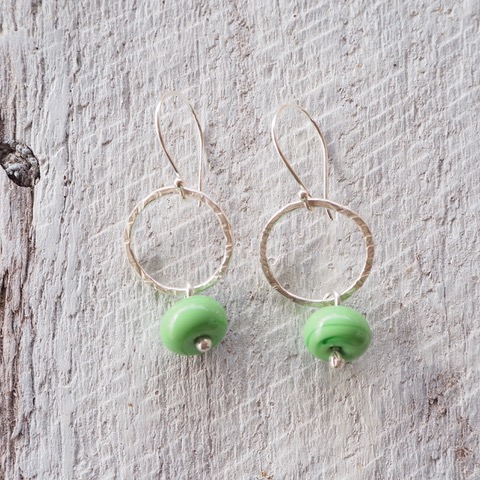
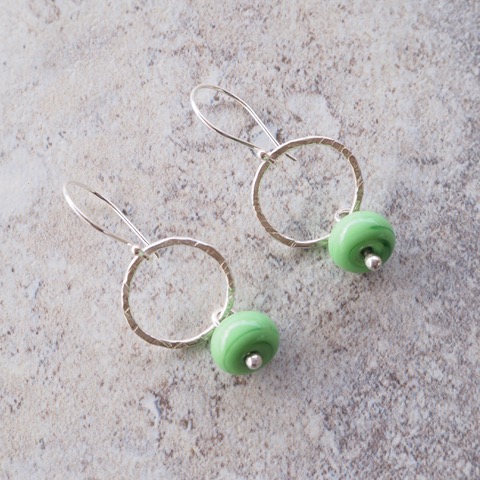
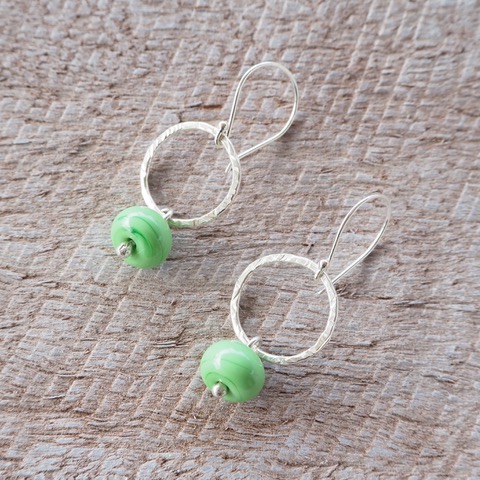
I hope you have enjoyed the colourful earrings that I have been sharing as part of my Colour Play series of work this month. Don’t forget, you can visit the shop to see the whole collection. The final colour way is green.

Yesterday I was looking through some old photos of my jewellery. I came across some old work that I had made for a Flame On exhibition at Kirra Galleries. The earrings were asymmetrical and I really liked them. I think most of the earrings sold from that exhibition, so it made me wonder why I hadn’t made more like them, or even remotely similar to them. This morning as I was trawling through my beads, trying to find pairs that matched for earrings….I had a sudden realisation….I didn’t have to match them if I was going to make them asymmetrical. Yay, that made it easier to find some lovely beads that all kind of worked together, hence this pair of earrings:

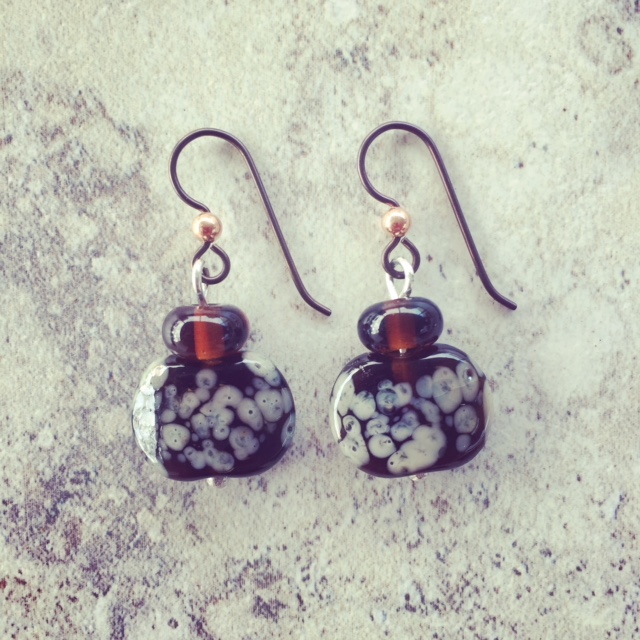
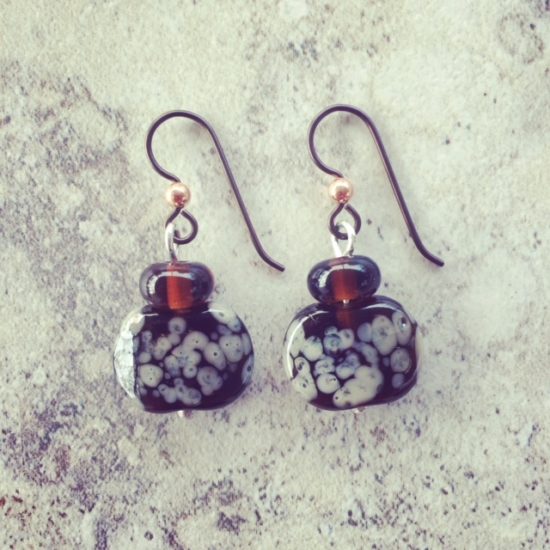
I have a few different pairs of niobium earrings to share. I like the little copper sparkle in this pair! Teamed with beads made from a Coopers Ale bottle, they are really quite pretty.
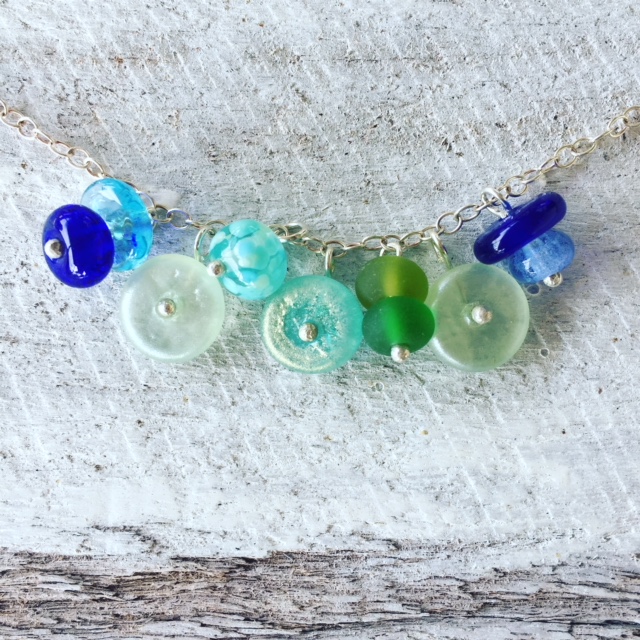
I have been playing around with some ideas for a pretty little charm bracelet. Assorted recycled glass beads in all sorts of pretty colours.


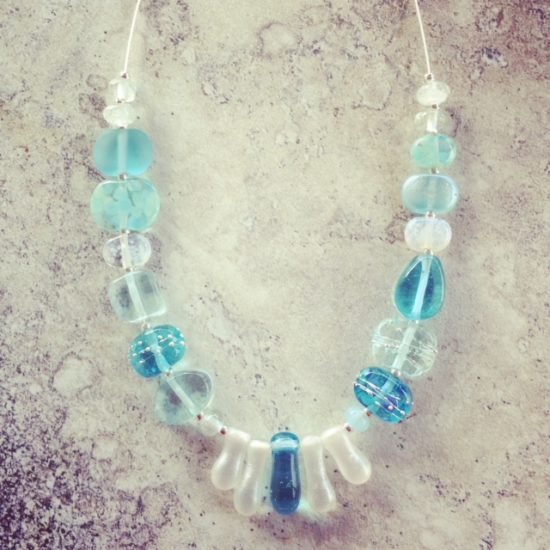
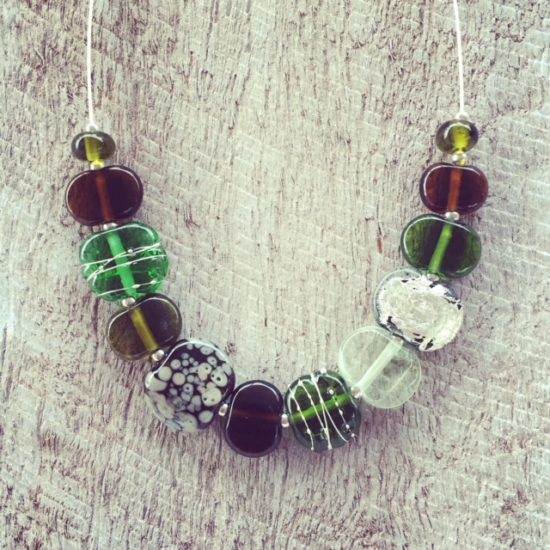
Well it’s definitely winter here! I have been doing a lot of driving lately and it has been quite lovely to watch the paddocks turn from brown to green. This necklace is inspired by the changing season. Using beads made from beer, wine and champagne bottles, I think it captures the change from brown paddocks through to lush green fields quite nicely.

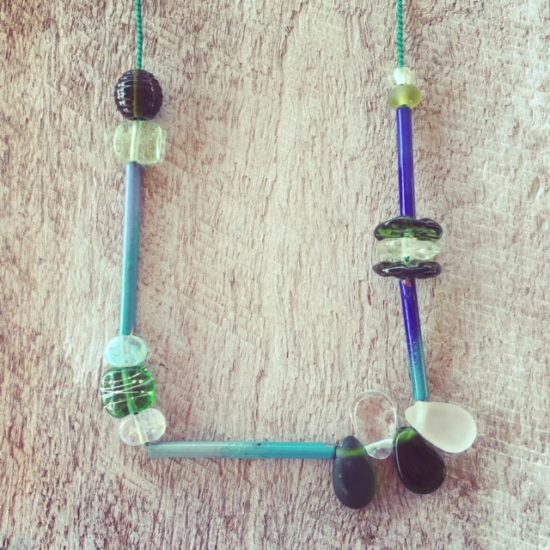
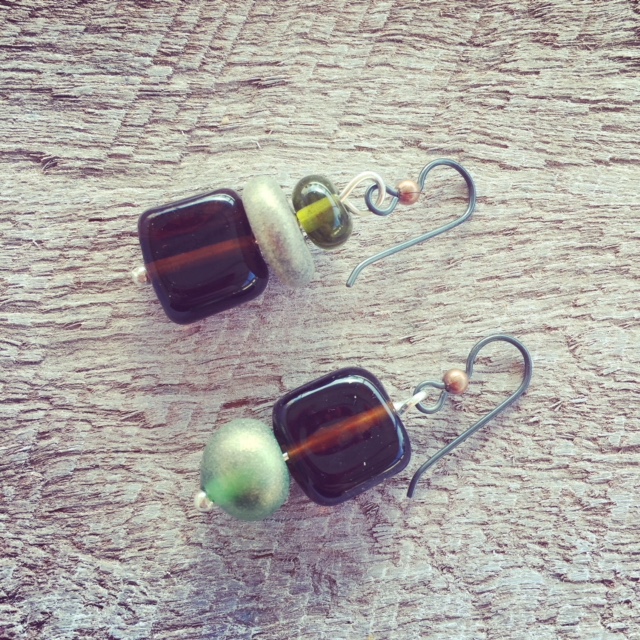
I was so pleased to wake up today knowing that it was a long weekend and I didn’t have to be anywhere else but at home. We all woke up a little later than normal, and I have had a chance to play with some more design ideas with the enamelled copper tubes and various recycled glass beads. I really like how this one sits.